

I’ve been putting A LOT more time and energy into my social media lately.
I still don’t like it any more than I have in the past – but I DO realize that it’s part of the game now.
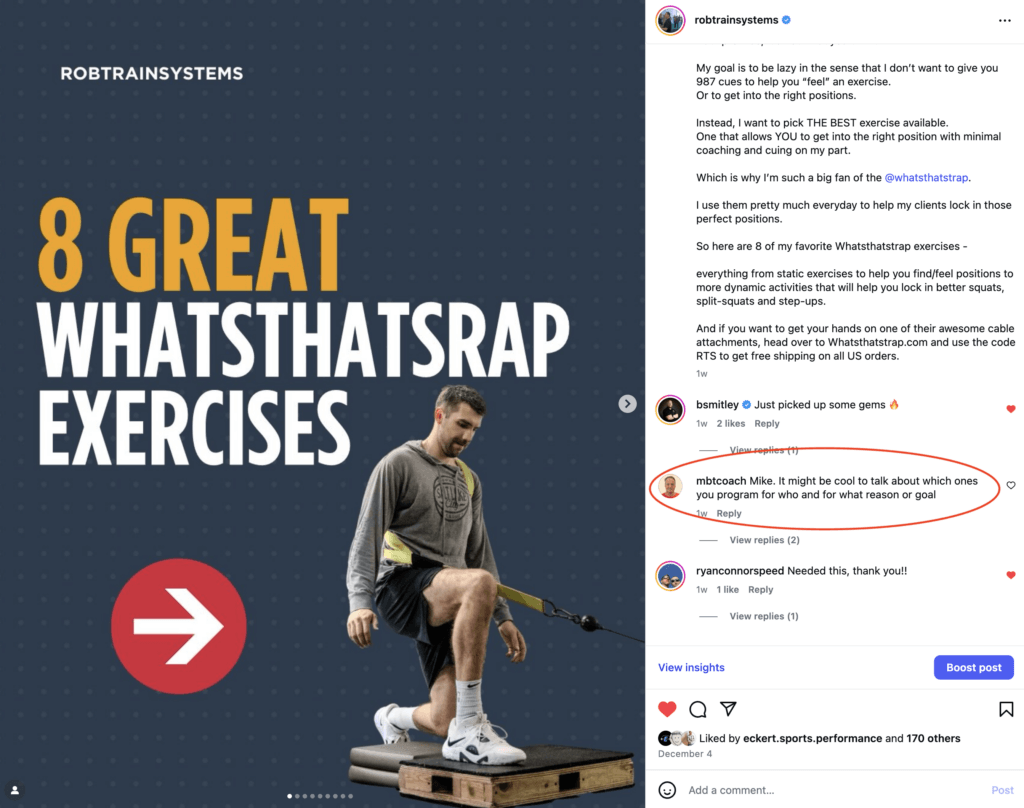
One of my more popular posts in recent memory was focused on the Whatsthatstrap, and how I use it with my clients and athletes.
I got a ton of great feedback on that post, but this comment in particular was the impetus behind the article:
Now before I go any further, let me be crystal clear about a few things:
1 – Yes, Whatsthatstrap is now a sponsor of the podcast, so we have a business relationship. But
2 – I used their product FOR YEARS before this, so I truly believe in their product and love it because it makes my life easier.
Now that we’ve got that out of the way, let’s start with two simple questions…
What is a Whatsthatstrap? And WHY should I use it?
Whatsthatstrap (WTS) is a company that makes unique cable attachments, and they’re kind of known because they’re neon yellow.
Most of the demos I’ll demonstrate below feature their 3-D Strap, but they also make handles you can use for chopping, lifting, etc.
Now as far as WHY you should use it, the answer is simple:
Because it helps you coach and cue less!
I actually talked about exercise modifiers (including the WTS) in this video I dropped a year or two back:
Tools like a WTS, anterior loading, slant boards, etc. are all great because they allow my clients and athletes to move and feel better, while allowing me to coach and cue them less.
After all, no one wants to hear me talk the entire session!
Instead, one of my primary goals as a coach is to help people FEEL the right things without having to provide a ton of external feedback.
Understanding Anatomy (and How to Use a WTS)
Now without going 100% off target and turning this into a hardcore anatomy and biomechanics lesson, there are two things I need you to understand before we move on:
1 – Our goal, as human beings, is to move FORWARD.
2 – We all have an internal asymmetry that is turning us from left to right.1
So if we have forces that are pushing us forward and to the right, it only makes sense that a lot of our exercise interventions need to shift us back and to the left.
Which is where the WTS comes into play.
The standard set-up (which you’ll see in most of the videos below), starts with me face away from the cable machine, placing the 3D-Strap on my right shoulder, and then turn back into the strap so I’m facing the machine.
When set-up this way, the cable is trying to spin me even harder forward and to the right, so I have to work even harder to turn back and to the left.
(BTW – if all that sounded super confusing, try to stand up and actually walk through it in real-time. I promise it’ll help!)
Now before we dive into the exercises, here’s a quick pro tip:
While the WTS is GREAT for re-training and re-patterning movement, the biggest mistake people make is trying to get too heavy with the cable loading.
I like to think of it like this:
The WTS and cable resistance are there to subtly remind us of where we want to be, and how to get into that ideal position…
…NOT to create a ton of overload.
What exercises can I perform?
Okay let’s get into the good stuff, because I’m sure you’re wondering…
…”Yo Mike! What kind of exercises can I do with these attachments?”
I’m glad you asked – lets’ dive in!
Cable Reaching Squat
I absolutely love this squat variation because it does two things most people need:
- Helps them shift back and find their heels, and
- Helps them shift back and to the left, which allows for a more evenly distributed squat pattern.
So here’s how I set this up:
- Whatsthatstrap attached to the lowest setting on the cable column,
- Standing on a small slant board (10-degrees, in this case), and
- A light plate to hold in front of me.
Now between the strap being on my right shoulder, the slant board and the weight plate reaching in front, this allows me to craft a pretty solid looking squat (at least for me!).
Front-Foot Elevated Split-Squats
Remember that internal asymmetry that’s driving us from left to right?
Well with many clients/athletes I’ve worked with, this is even more magnified and/or harder to control when you get into split-stance activities due to a narrower base of support (BOS).
Here you’ll keep the strap on the right shoulder REGARDLESS of which leg is on the box, and it’ll do the work for you.
When the left leg is in front, it’s going to make you turn towards that left leg hip (think loading or “getting into” the hip).
Then when we put our right leg on the box, it’s actually going to help us find a strong foot position and help us GET OUT OF that right hip.
Pretty cool, huh?
Step-up Variations
These first two step up variations are going to work the same as the split-squats above.
On the left side, the strap is going to turn you back and to the left, allowing you to load that hip more effectively and help you feel your WHOLE FOOT.
And on the right, it’s going to help you find that strong foot position and power/PUSH through the box to stand up.
Now another way you can set this is up is by placing the strap on your right shoulder and facing AWAY from the cable machine.
This is going to have a similar effect (i.e. turning you to the right) but is going to focus a bit more on getting forward and PUSHING, versus staying back to push.
Cable Chops and Lifts
Chops and lifts have been around forever.
Or at least as long as Gray Cook has been talking about them 😉
I love half-kneeling variations because they’re literally the foundation of your split-squat and lunge pattern.
In other words, if someone sucks in half-kneeling, chances are they’re going to suck in the bottom of a split-squat or lunge as well!
So training in half-kneeling can provide a couple unique benefits:
- It’s basically an isometric hold, so you have TIME to create the positions/shapes you want,
- Only the extremities are moving, so it’s a less complex task than when you’re actually moving up and down, and
- Depending on if you’re chopping, lifting, or going into/out of a hip, you can work on specific areas of weakness for your clients and athletes.
Now with all that being said, here are the 3 versions I use the most!
I like the chop INTO the hip for someone that struggles to load one specific side of their body.
For added mileage, consider holding that midpoint and banging out a solid inhale to create some space in the back of the left hip.
The chop out of the hip is great for someone that tends to get really shifted to one side of the body, and/or needs to learn how to pressurize their foot and hip/pelvis.
For added mileage on this one, think about finding a strong foot position and then EXHALING prior to performance.
Last but not least, the cable lift is great for someone who is trying to create a better push, and/or actively reclaim verticality against resistance.
Rotation and Loading Exercises
Our last round of exercises are variations that I use more for general body awareness, versus building a specific movement pattern.
The first exercise is a split-stance turn. Now important to note here, but this is one variation where the strap is actually on my LEFT shoulder, and not my right.
Here I’ll put the strap around my left shoulder, wrap myself up like a mummy, and then set-up with my left foot in front.
Once in this position, I’m just going to reach with my right arm and use that load to help me rotate to the left, which will help me load and create space in that left hip joint.
Key point here? Make sure to keep that left arch down. You’re not trying sprain your ankle 😉
Last but not least, the right-to-left weight shift is great for retraining someone to PUSH LATERALLY with their right foot.
Here I like to take a fairly wide stance side-to-side, and then use the resistance to pull/turn me to the right.
I have to own and control that (using my right foot, thigh and hip), and then power/PUSH to get back to the left side.
Again, make sure to keep arches and own the eccentric/lowering portion of the lift.
Summary
So there you have it – a handful of my favorite Whatsthatstrap exercises.
If you have a strap, which one is your favorite?
And if you don’t have one, which exercise do you think would be most useful for you?
As I’ve mentioned 1000’s of times in the past, I’m all for any tool or device that makes my life easier, and I can say without a doubt the Whatsthatstrap does that for me.
All the best,
MR
P.S. – If you’re interested in picking up a 3D-Strap (or any of the other great WTS products), just head over to their website and use the code RTS at checkout.
Don’t worry – I don’t get any extra commissions, but you’ll get FREE domestic shipping here in the good old U-S-of-A!
Footnotes
