


While writing The Fresh and Healthy Instant Pot Cookbook, I discovered you could cook perfectly fluffy rice in the pressure cooker. You don’t need to store a separate rice cooker in your kitchen anymore!
Similar to cooking Instant Pot Brown Rice, all you have to do is add water, press a button, and walk away—but white rice cooks even faster, so it’s perfect for a quick weeknight meal.
One of the coolest things about the Instant Pot, in my opinion, is how you can cook two dishes at once. So, I’ll also show you how to cook pot-in-pot rice, in case you want to cook a separate main course all at the same time. (It’s so convenient!)
⭐⭐⭐⭐⭐ Featured Review
“This recipe is perfect. First time for perfect fluffy rice. Thank you so much.” – Lorelei
How to Cook Rice in the Instant Pot
Step 1:
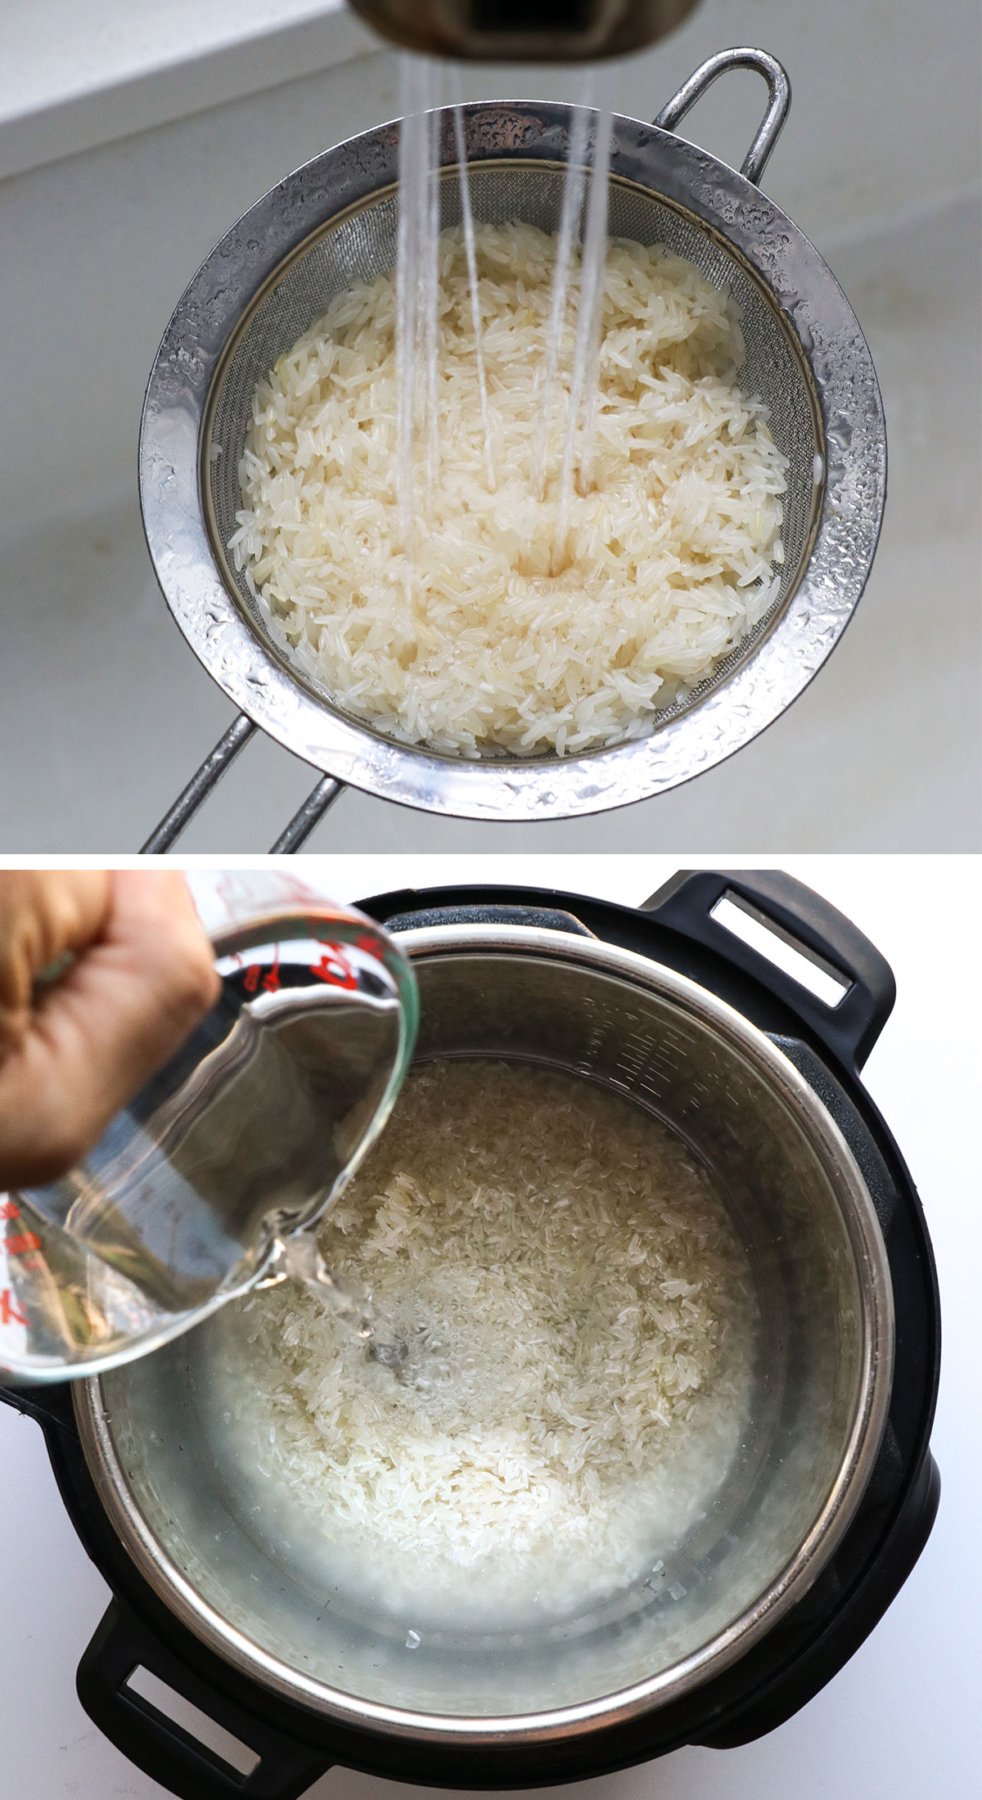
Add the rice to a fine-mesh strainer and rinse it under running water until the water runs clear. This removes starches from the rice that can turn the texture gluey later.
Transfer the rinsed rice to the stainless steel bowl of your Instant Pot, then cover the rice with water. When cooking rice in the pressure cooker, you’ll use a 1:1 ratio of rice to water. So if you want to cook 1 cup of rice, you’ll need 1 cup of water.
Optional: You can season with a pinch of salt and a drizzle of oil or butter, if you like. The added fat can help prevent the rice from sticking together, but I usually don’t add it regularly.
Step 2:
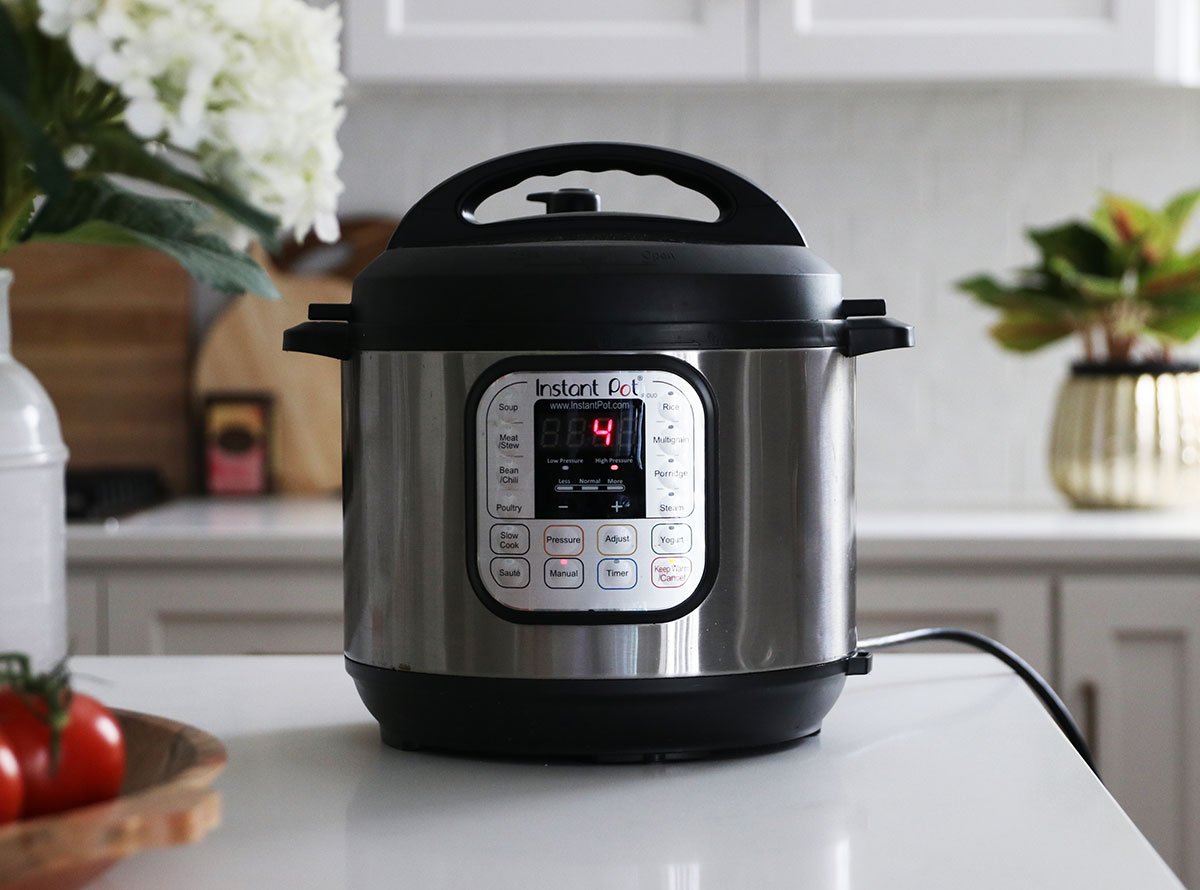
Secure the lid on your Instant Pot and, if needed, move the steam release valve to the “Sealing” position. (Newer machines are automatically in this position.)
Use the Manual or Pressure Cook button to cook at high pressure for 4 minutes. The machine will take approximately 5 minutes to pressurize, so the screen will read “ON” until then. You’ll know the pot has pressurized when the lid’s floating valve pops up.
Step 3:
When the cooking cycle is complete, let the pressure naturally release. If you cook 2 cups of rice or less, this should take about 10 minutes.
Move the steam release valve to venting to make sure the pressure has been fully released. You’ll know it’s safe to open the lid when the floating valve has dropped and the lid twists open easily.
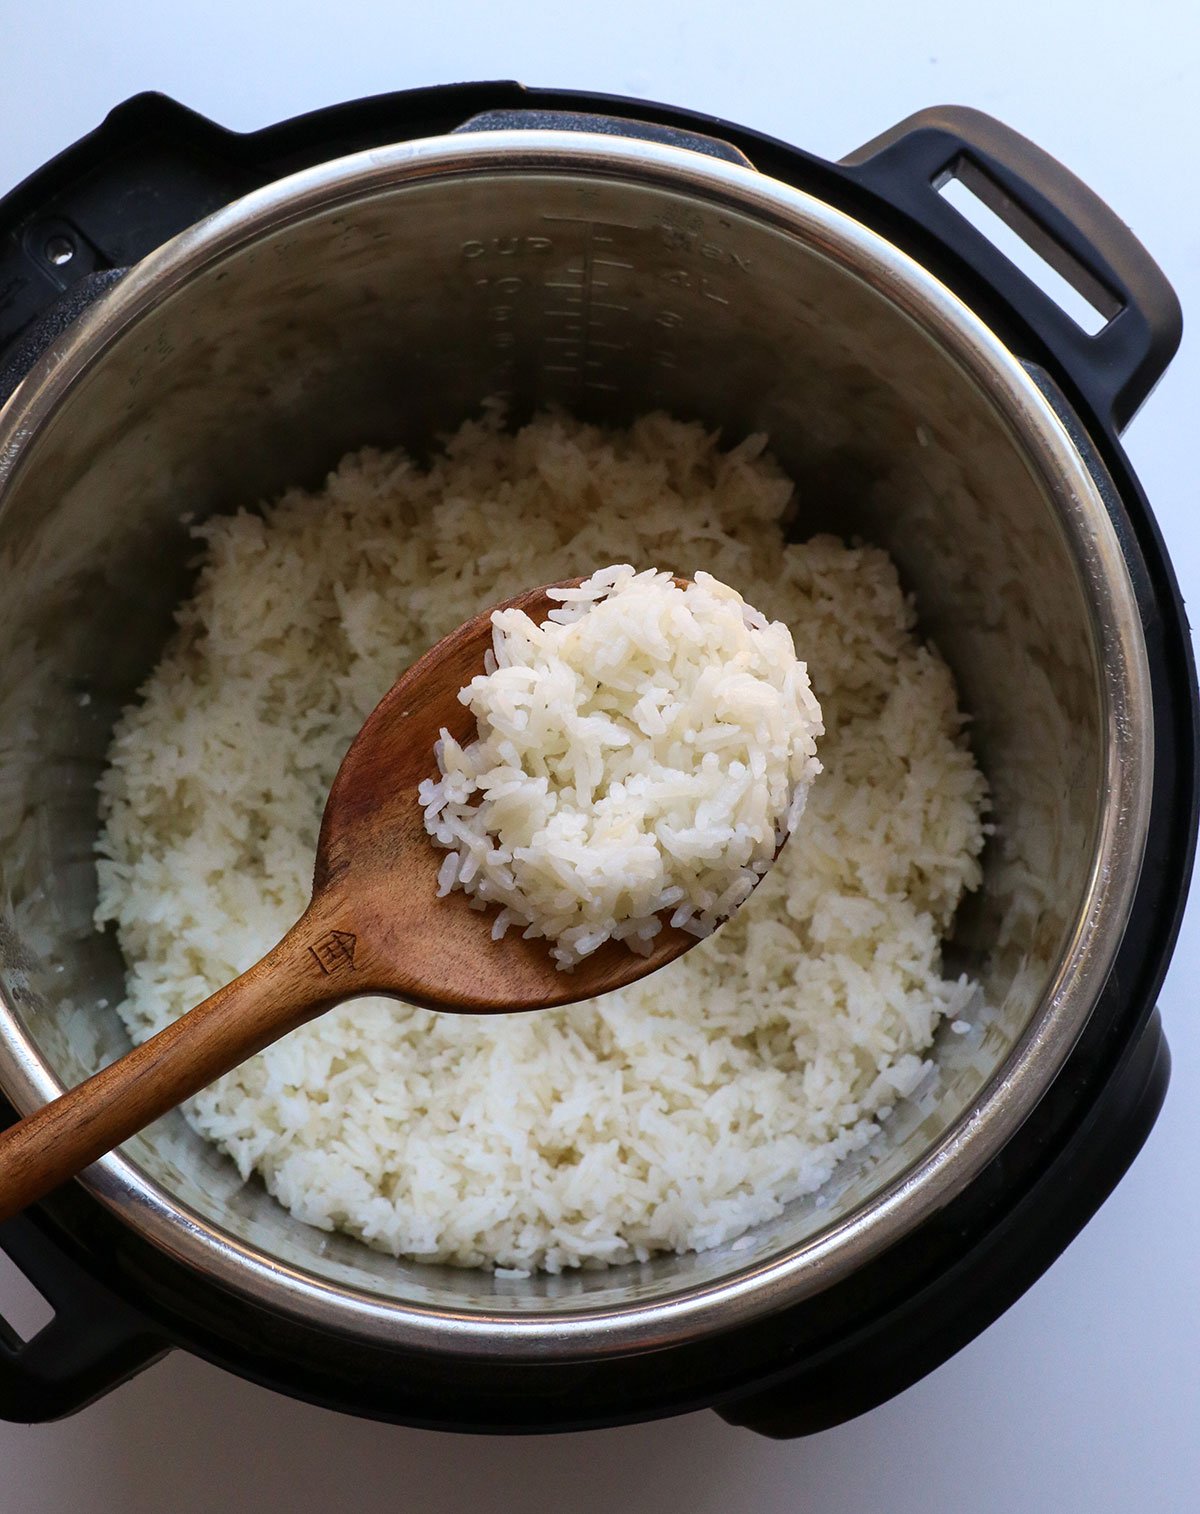
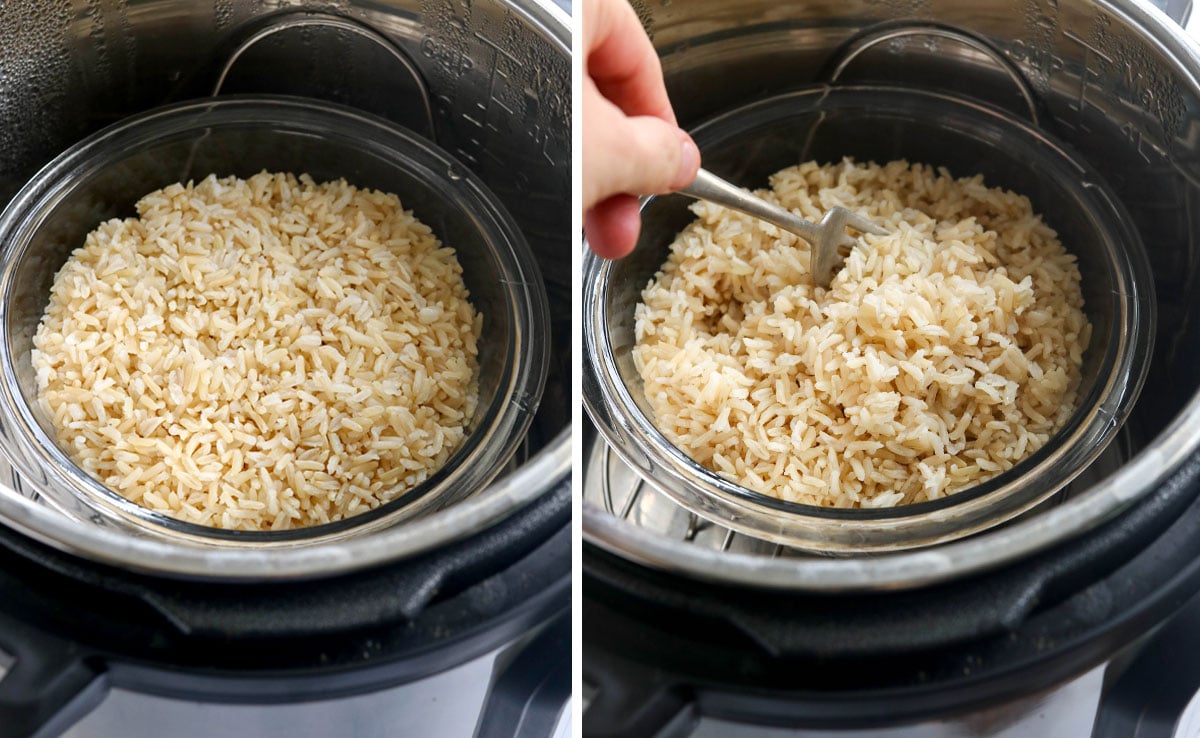
Fluff the rice with a fork, and then it’s ready to enjoy right away.

How to Cook Pot-in-Pot Rice
If you need to cook less than 1 cup of dry rice or want to cook two dishes at once, I recommend using the pot-in-pot cooking method. This means you’ll cook the rice in a separate bowl, lifted up on a trivet. (My Instant Pot came with a trivet, but you can also buy an extra trivet if you need to.)
Check out my pot-in-pot cooking tutorial if you need extra guidance. To cook the rice in a separate bowl, you’ll just need to add a cup of water to the bottom of the Instant Pot to get started. This water will boil and make the pot come to pressure. Pour the rinsed rice and cooking water into a separate bowl, then set the bowl on a trivet over the water in the bottom of the Instant Pot.
For pot-in-pot cooking, select an oven-safe bowl that is 7 inches or less in diameter when using a 6-quart Instant Pot.
I’ve used porcelain salad bowls and glass mixing bowls with success, or you can use a stainless-steel baking pan, as long as it leaves space around the bowl for the pressure to build up. (It would be very dangerous to use something that doesn’t allow space for steam to escape around the bowl, so don’t go too big!)
With pot-in-pot cooking, the cooking time doesn’t change for Instant Pot white rice, so it will be ready in the same amount of time as listed below. And as an added benefit, you won’t have anything to clean on the bottom of your Instant Pot when you’re done!
- 1 cup white rice
- 1 cup water
-
Pour the rice in a fine mesh strainer and rinse it well to help remove some of the surface starch. (This helps prevent a “gummy” rice texture later.)
-
Pour the rinsed rice into the bottom of the Instant Pot and add in 1 cup of water. Stir well, then secure the lid. Move the steam release valve to “Sealing.”
-
Press the Manual or Pressure Cook button (this will vary by machine) and cook at high pressure for 4 minutes. It will take 5-8 minutes for the pot to come to pressure, so the machine will just read “On” until then.
-
When the cooking cycle is complete, let the pressure naturally release for 10 minutes. When the screen reads LO:10, move the steam release valve to “Venting” to release any remaining pressure. When the floating valve in the lid drops, it’s safe to open the lid.
-
Fluff the rice with a fork, and serve warm. Leftover rice can be kept in an airtight container in the fridge for up to a week.
If you want to prevent foaming in the Instant Pot, particularly if you are making a large batch of rice, you can add a teaspoon of oil to the pot, when you add the dry rice and water. Feel free to double or triple this recipe to make the amount of rice you need (1 dry cup = 3 cooked cups), but don’t fill the pot more than halfway full. See my full post above for more details.
Calories: 225kcal | Carbohydrates: 49g | Protein: 4g | Fat: 1g | Saturated Fat: 1g | Sodium: 7mg | Potassium: 71mg | Fiber: 1g | Sugar: 1g | Calcium: 17mg | Iron: 1mg
More Instant Pot Recipes
If you try making white rice in the Instant Pot, please leave a comment and star rating below, letting me know how it turns out for you! And if you make any modifications, I’d love to hear about those, too. We can all benefit from your experience!
